Crafting A Blog Site To Follow My Journey
As a way to keep my engaged and motivated in learning to create games; I decided to create a blog.
This would work as a way for me to learn new things in web development, which is what I do for a living. But, also it would keep me motivated to continue in my goal of learning to create my own video games. I am hoping that the want to regularly post blog posts with tidbits of information I learn along the way will keep me engaged with continuing to push forward.
Initial design
So I am going to be real here design is not my strong suit. Making a good looking website takes a certain skill set that as of now eludes me. Thankfully, there are many other people in the world that are way better at it than I will ever be. One of these groups is Tailwind.
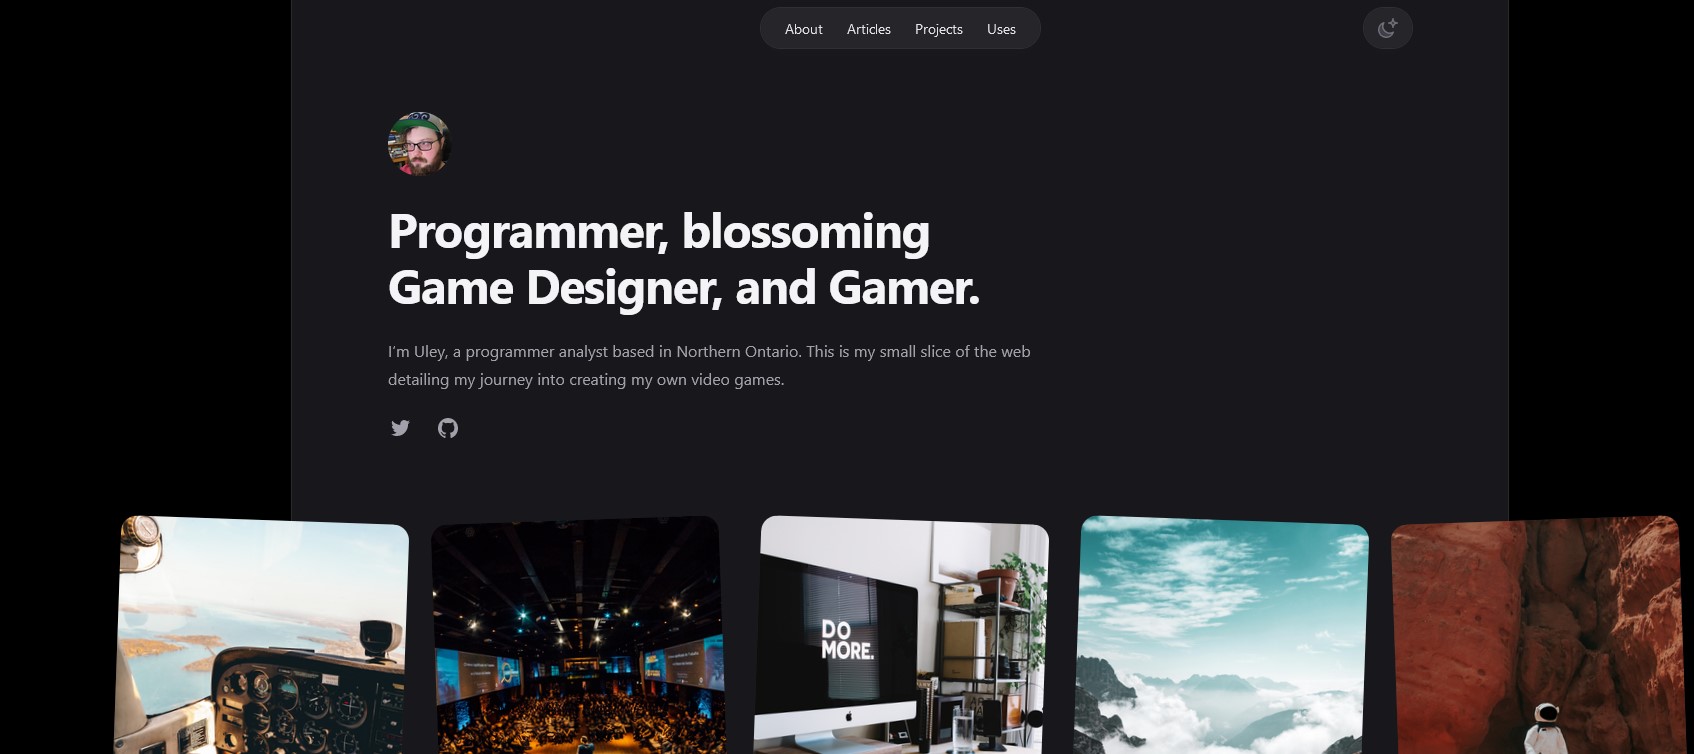
Mostly known for their CSS framework, Tailwind also has developed some really nice, clean, and esthetically pleasing components and website templates. One of these templates is called Spotlight, which is what I am using for this blog.
For more information on TailwindUI components and templates you can head on over to https://tailwindui.com/.
Repository and hosting
The next step was getting my template set up as a repository in github. This was very simple, I basically just loaded up the template in Visual Studio Code and published to Github. Bam, main branch created.
As the site is written in Next.JS and uses MDX for the blog articles I now needed to set up Github to build the site, and publish to github-pages. The build would create a static site version of the website and output that content into the /out/ folder. This is the default build action by Next. Luckily, the default GitHub Action for a Next deployment is already set up to set up the environment, and build the project.
This is where my first hurdle came in. During the build process the next build was erroring out when it was trying to compile the MDX files. For those unaware, MDX files are simply Markdown files that allow react JSX components to be used in the markdown code to allow some dynamic content to be used in a markdown file.
This was a head-scratcher for while as the site was building and running perfectly fine on my local machine ( that's what they all say!). Luckily after walking through the automation workflow, the YAML file generated by github, I was able to determine that the build environment was being generated but using its own next.ocnfig.js file, and not the one included in my repository, so the fix was very simple. I added the 'generator_config_file' attribute to tell the build process to use the next config file included in the repository instead.
      - name: Setup Pages
        uses: actions/configure-pages@v3
        with:
          # Automatically inject basePath in your Next.js configuration file and disable
          # server side image optimization (https://nextjs.org/docs/api-reference/next/image#unoptimized).
          #
          # You may remove this line if you want to manage the configuration yourself.
          static_site_generator: next
          generator_config_file: ${{ github.workspace }}/next.config.mjs
I now have a repository, where upon the main branch has a new commit, it will create a build environment, pull in the repository files, build and package the site, and deploy it to git-hub pages. This will allow for more rapid development for any future changes for this blog, and well as allow me to focus on creating content (these articles).
This is but merely the first step in this journey, and already I have been learning quite a bit. Even if it is not specifically game development learning is fun, so I am looking forward to see where this brings me.